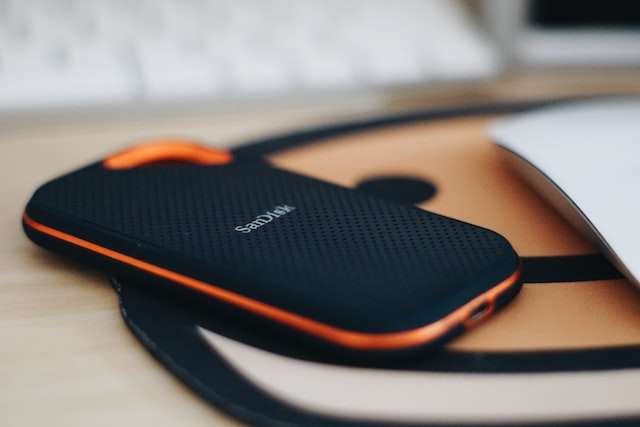
SanDisk is the most commonly used flash drive. It comes with a lot of benefits and it is one of the best among all flash drives. With time, every flash drive starts working slowly (no matter which flash drive we use). The reasons can be related to the transfer speed of the USB ports, the read speed of the source device, or the slow writing speed of the target device. The reasons can also include a number of running apps, processes, and services in the background. Moreover, it can also happen due to the constant buffering of the hard disk for managing the speed to match. In this blog, we will be discussing how we can speed up the SanDisk flash drives based on easy and effective methods. So, let’s get started.
Quick and Easy Methods to Speed up the Flash Drive
- Updating the USB Drivers:
If you use a laptop, you will be able to find that the USB port is connecting with a chipset. Therefore, you are required to ensure that the Chipset driver and USB drive are always updated and working normally. Manually checking on them and keeping them updated is a tedious task to do and it requires a lot of effort. Additionally, a lack of knowledge and tech can also create issues related to instability. Therefore, you can always take the help of an automatic updater which will help you in installing and updating the drivers on your PC. You can take the help of the best drivers like Advanced Driver Updater for keeping your system up-to-date.
- Finding and Removing Duplicates from the Drive:
One of the most common reasons behind the slow flash drives is the storage space. And sometimes, knowingly and unknowingly we fill our flash drives with duplicates that not only take up the storage space but also slow down the overall performance of your PC and flash drive. Finding and removing duplicates manually is really hard and additionally, it does not provide accurate results as well. Therefore, you can take the help of a duplicate finder like Duplicate Files Fixer on your PC which will help you to get rid of duplicates by finding and deleting them on a regular basis without any hassle. You can easily download Duplicate Files Fixer for delete duplicate files and speeding up the flash drive:
Here is a quick guide to using Duplicate Files Fixer for speeding up your flash drive:
- Download and install the Duplicate Files Fixer on your Windows PC.
- After setting up the software, go to the main page and hit the start scan button.
- You can also select the targeted drive to be scanned from the software.
- Wait for a while, and let the software complete the scanning process.
- After a while, you will be able to preview the results and delete the duplicate files according to your choice. Herein, you can also take the help of the auto-mark feature.
- Enabling the USB 3.0 Port:
USB 3.0 port is also referred to as the SuperSpeed USB wherein users can switch to the fastest and finest transfer speed. It is one of the latest technology ports therefore, you will need to check if your laptop or PC supports this port or not. Additionally, if you wish to enable the USB 3.0 port, follow the below-mentioned steps:
- Begin the process by entering the BIOS settings.
- Now, by using the Arrow keys go to the advanced tab.
- After opening, you will need to go to the USB configuration and hit the Enter key.
- Now, check if USB 3.0 is enabled on your system. If it is disabled, enable it.
- Now, end the process by saving the changes and exiting the BIOS settings.
- Formatting USB:
If you wish to directly speed up the USB, you can format it for gaining the fastest speed again on your flash drive. Please note that this method will remove all your data on the device. Therefore, always create a backup before formatting your USB. Follow the below-mentioned steps for formatting the USB:
- Connect the USB.
- Now, go to “This PC.”
- From here, you will be able to see the USB now right click on the icon and select the Format button.
- Additionally, set the file system to NTFS and hit the start button.
- Now, click on the OK button after formatting is completed.
- Altering the data transfer policy:
According to the default settings, Windows always uses the Quick Removal data for USB. Therefore, by altering the policy to better now you can enjoy the increased speed of the USB. Follow the below-mentioned steps for altering the data transfer policy:
- Go to the Device Manager
- Find the Disk drive and then expand it to select the USB drive.
- Now, go to the Policies tab and then select the “Better Performance” option.
I hope this blog helps you with the quick and easy ways to speed up the flash drive.
Thanks for reading!